Automated import
Automated import of data is possible where an integration has been set up between another open data portal and DataStream. See which data platforms are currently connected with DataStream in the Integrations section.
If you have an existing open-access database and would like to explore the potential for integration, please contact us at team@DataStream.org.
Setting up a new dataset for automated import
Follow these steps to set up a new dataset for automated import through an existing integration:
1. Log in to your DataStream account
Click 'Login' via the top right header menu on Atlantic DataStream, Great Lakes DataStream, Lake Winnipeg DataStream, Mackenzie DataStream or Pacific DataStream.
2. Go to Upload Data in the header menu
This option should appear once you are logged in with an approved data steward account. For Data Steward approval, email team@DataStream.org. Try refreshing your browser if this option does not display when logged in.
3. From the My Datasets page, click on Add New Dataset
4. Accept Terms of Use
Review and accept DataStream’s Terms of Use for submitting data.
5. Input dataset-level metadata
Enter the information pertaining to your dataset. The fields in the online form correspond to those in the DataStream Metadata Form and the Dataset Metadata tab in the template. These can be completed in advance so that you have the information on hand.

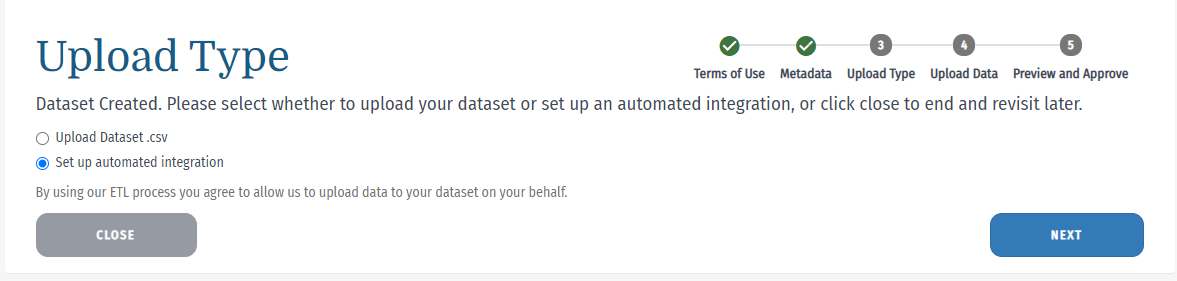
6. Select Set up automated integration
This will bypass the process for uploading a .csv dataset file.
7. Contact DataStream to let them know the metadata has been entered
Contact the DataStream Team at team@DataStream.org to let them know that the metadata has been completed. They will then complete the integration with DataStream.
8. Preview your dataset
Once your integration has been completed, log in to the DataStream site and go to the My Datasets page. Click on 'Preview Dataset' to make sure that the integration has been completed successfully.
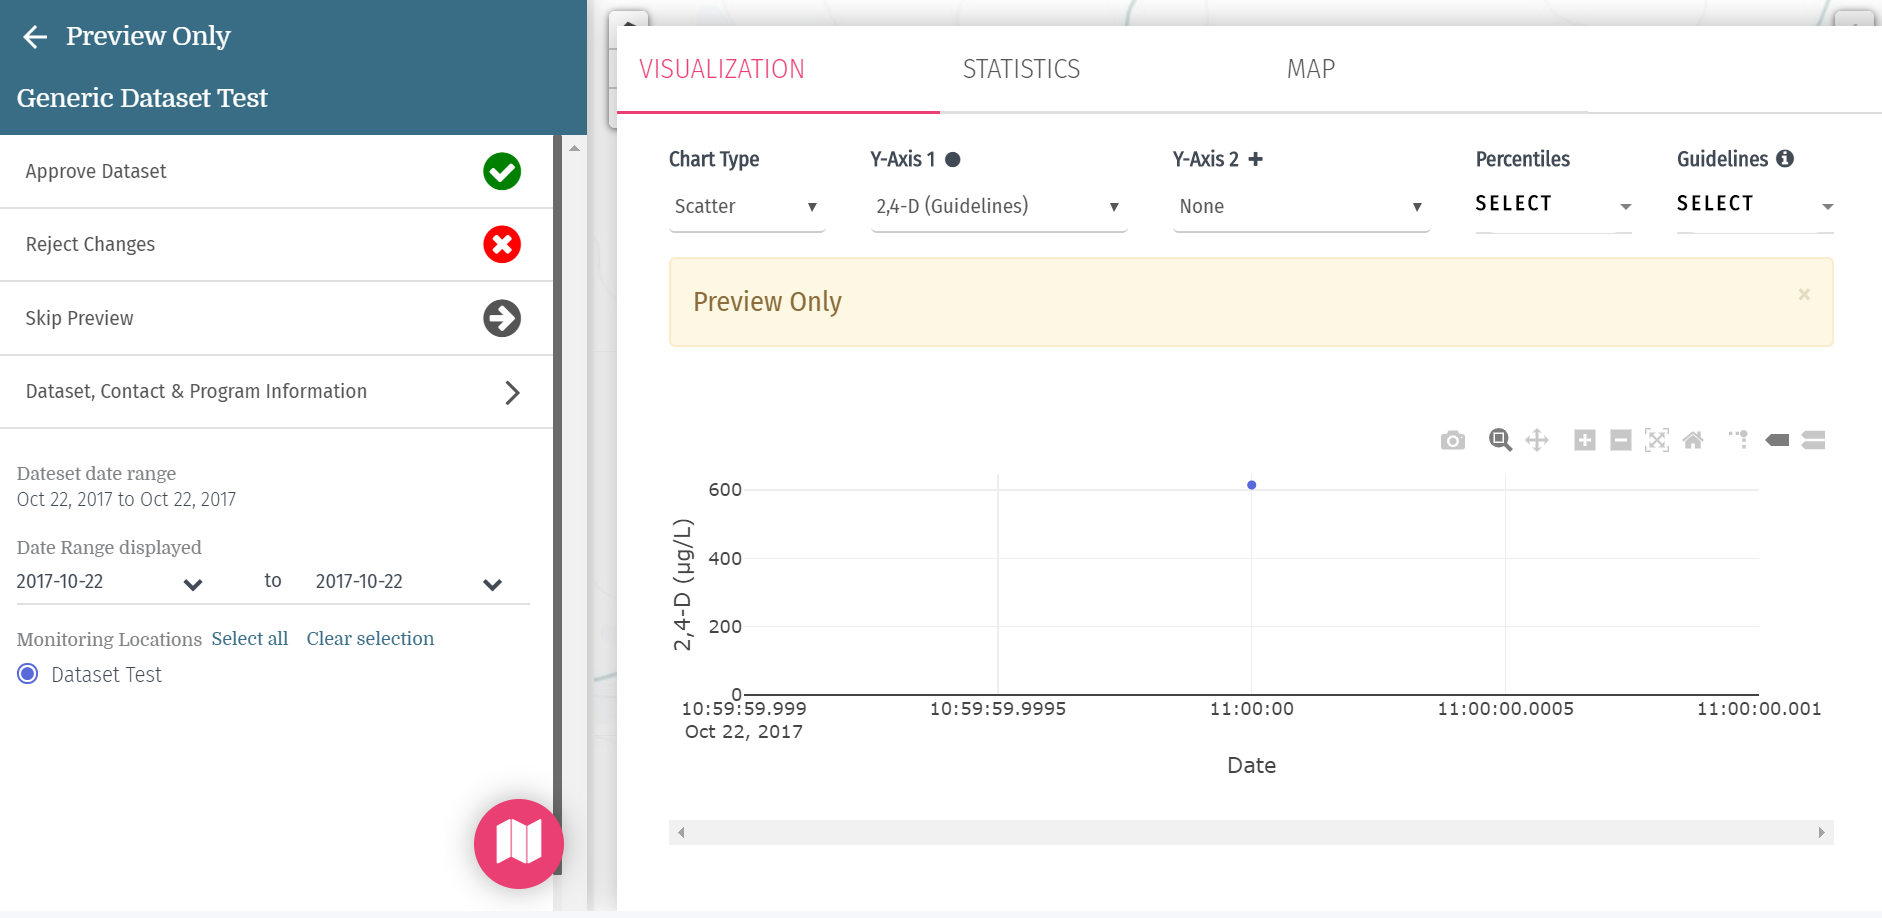
9. Approve your dataset or reject your changes
After reviewing your dataset, you can:
- Approve Dataset: Publishes dataset to DataStream (will be visible on the Explore map 24 hours after publishing)
- Reject Changes: Removes imported data. On the My Datasets page your dataset will say "Waiting for initial upload"
- Skip Preview: Takes you to My Datasets page where the dataset can be approved or rejected at a later date
Note: After selecting approve or reject, you will either need to revisit or refresh the page in order for the change to appear on the My Datasets page. This process may take several minutes to complete.
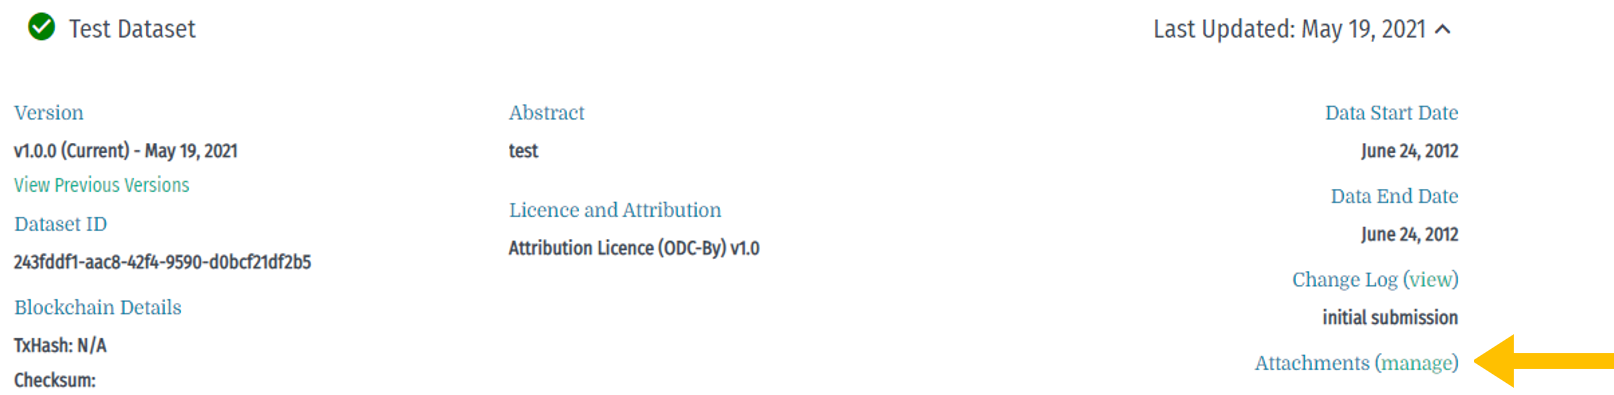
10. Add attachments (optional)
Once your dataset has been approved and published, click on the dataset from the My Datasets page. Select 'manage' next to Attachments to add documents related to your dataset (e.g. published papers, reports or other analyses, monitoring and QA/QC protocols, etc). Make sure you add a name to the file to complete the attachment process.
Have questions, requests, or need help with your data?
Our Data Specialists can assist you with this process.